
Today we will discuss , How to install maven in Windwos .
1. First of all we need to download maven from apache maven site – http://maven.apache.org/download.cgi
2. Now extract compressed file to local drive , say example – “E:\apache\apache-maven-3.2.1”
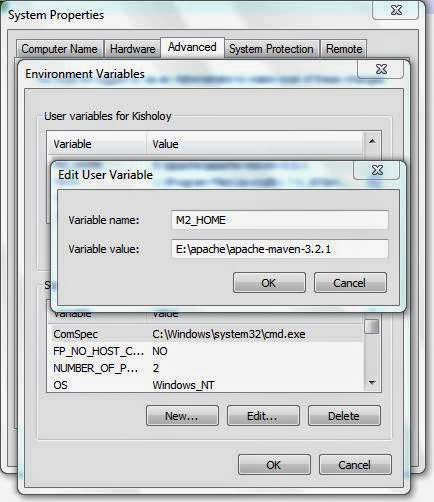
3. Set up the enviornmental variable M2_HOME = E:\apache\apache-maven-3.2.1
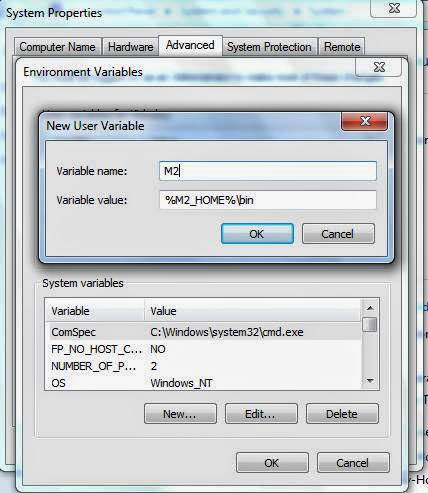
And same way you need to add : M2= %M2_HOME%\bin
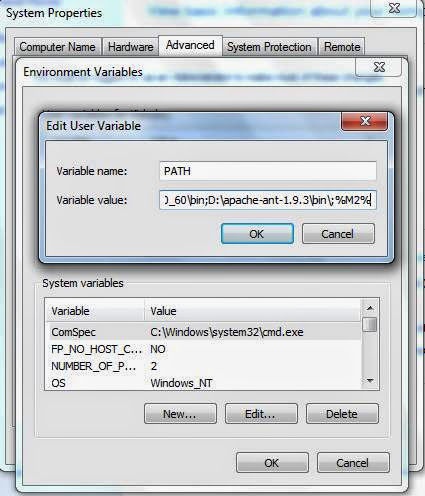
And include the M2 in pathe variable as well.
4. If you want to change “localRepository” then open the settings file of conf folder (example – E:\apache\apache-maven-3.2.1\conf and uncomment
< ! -- localRepository
| The path to the local repository maven will use to store artifacts.
| Default: ${user.home}/.m2/repository
-- >
and modify it as :
5. Now Open cmd and run the following command.
mvn –version
Now you will get the following information of the maven which you have just installed.

Now we are succefully able to complete maven installation in our windows system.